Skip to content
Signs of Leaks in Farm Tractors: Safe Checks for Owners and Buyers
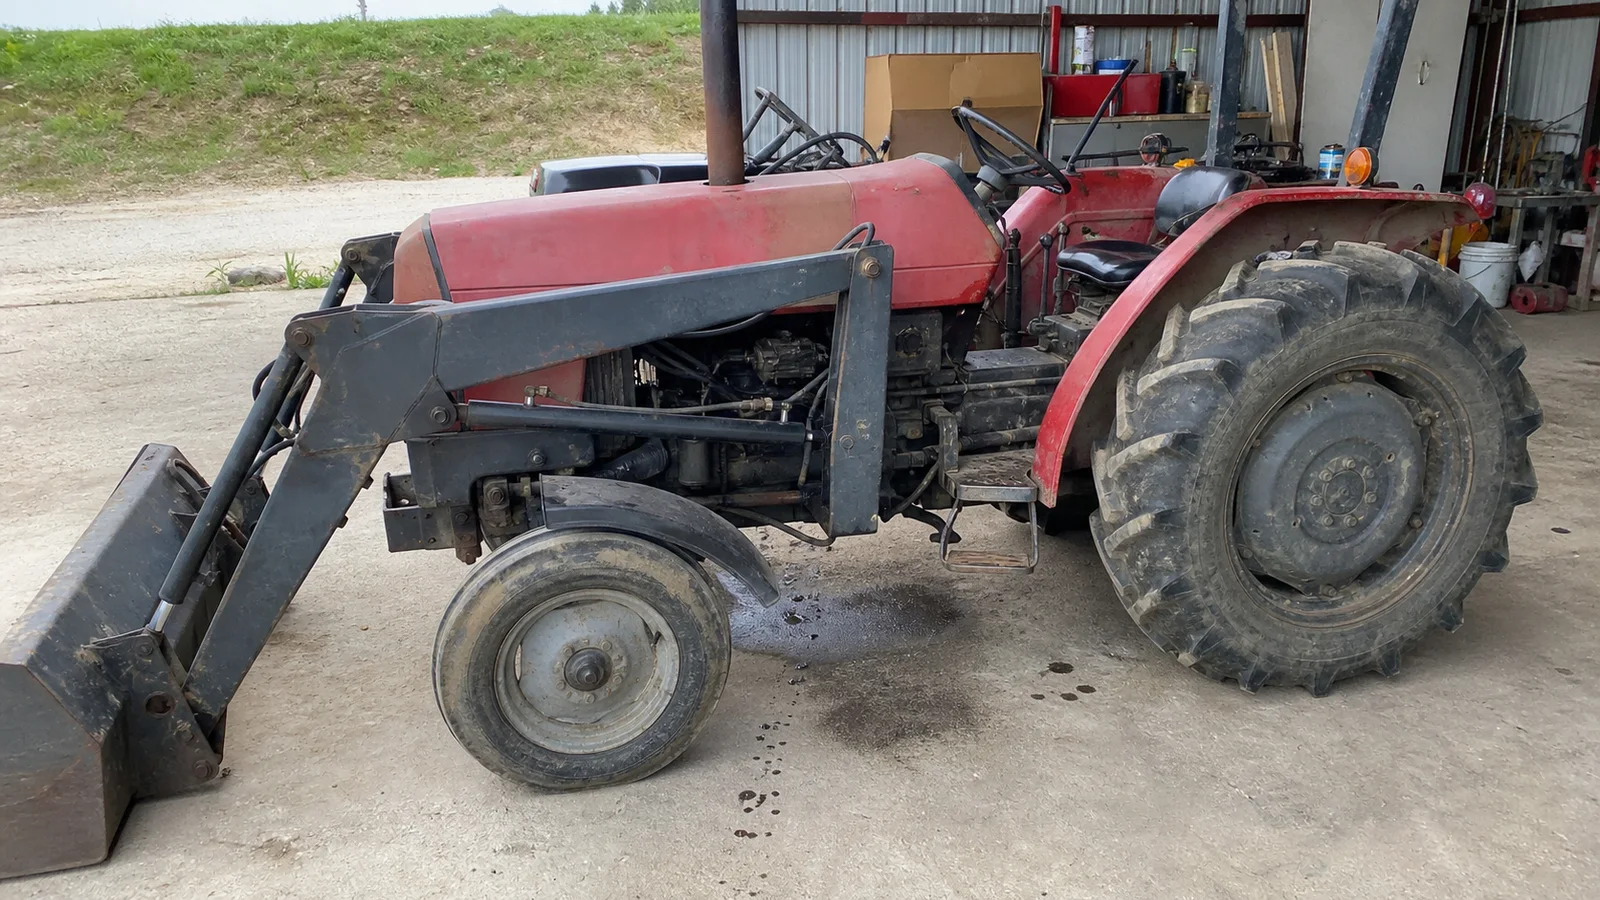
A puddle under a tractor is easy to notice. Other leak signs are quieter: fresh wetness around a fitting, a level that keeps falling, a loader that drifts more than before, rising temperature, or a new hydraulic whine. These clues can tell you that the tractor needs attention, but they rarely identify the failed part by themselves.
Start with two questions: Is it safe to keep operating? And what evidence can you collect without touching a hot or pressurized system? A short pre-operation walkaround1 that includes fluid levels and visible leaks is good practice for both working tractors and machines being evaluated for purchase.
Common signs of a tractor leak
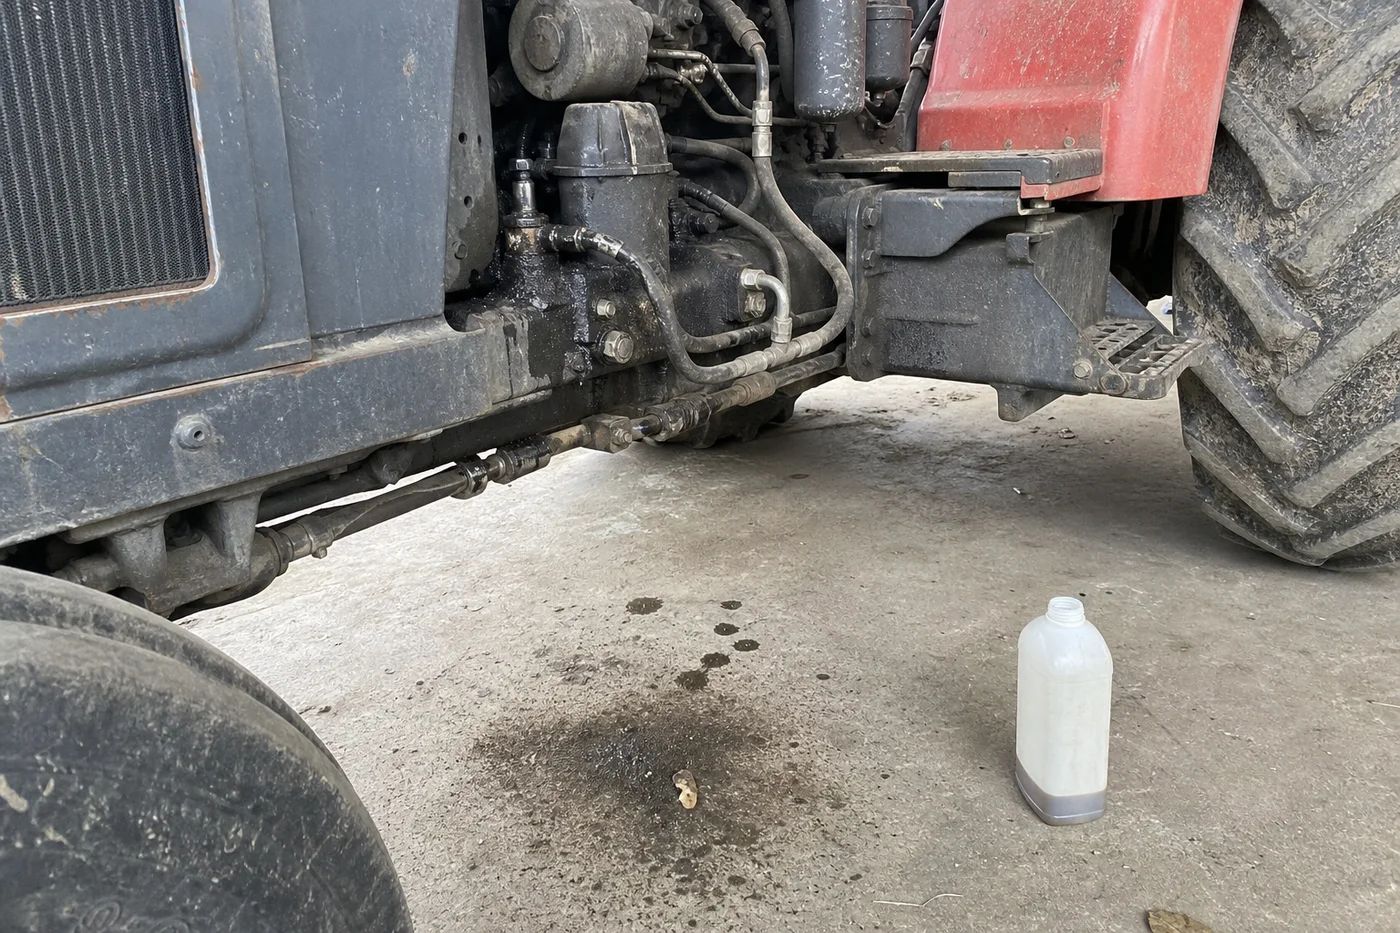
Look for a pattern rather than one isolated mark. Useful warning signs include:
- Fresh drops, stains, or a growing patch beneath the parked tractor
- Wet or shiny areas around hoses, fittings, couplers, filters, plugs, seals, cylinders, or housing joints
- Dust collecting on an oily area
- A fluid level that repeatedly falls when checked by the correct procedure
- Residue around the radiator, coolant reservoir, water pump, fuel tank, or low-pressure fuel lines
- Spray, mist, or a wet trail that appears only while a function is being used
- Warning lights, abnormal gauge readings, unusual heat, or a new noise
- Slow, weak, or jerky hydraulic movement
- Loader or three-point hitch movement that is becoming worse
- Changes in hydraulically assisted steering or braking
One wet area does not tell you which part has failed. Check whether the fluid is fresh, whether the relevant level is changing, and when the wetness appears. Old grime can remain after a repair, while fresh fluid can travel along a hose, frame, wiring loom, or housing before reaching the ground.1
Quick rule: recurring wetness plus a changing level, warning, temperature, noise, or machine function deserves prompt inspection.
Make the tractor safe before inspecting it
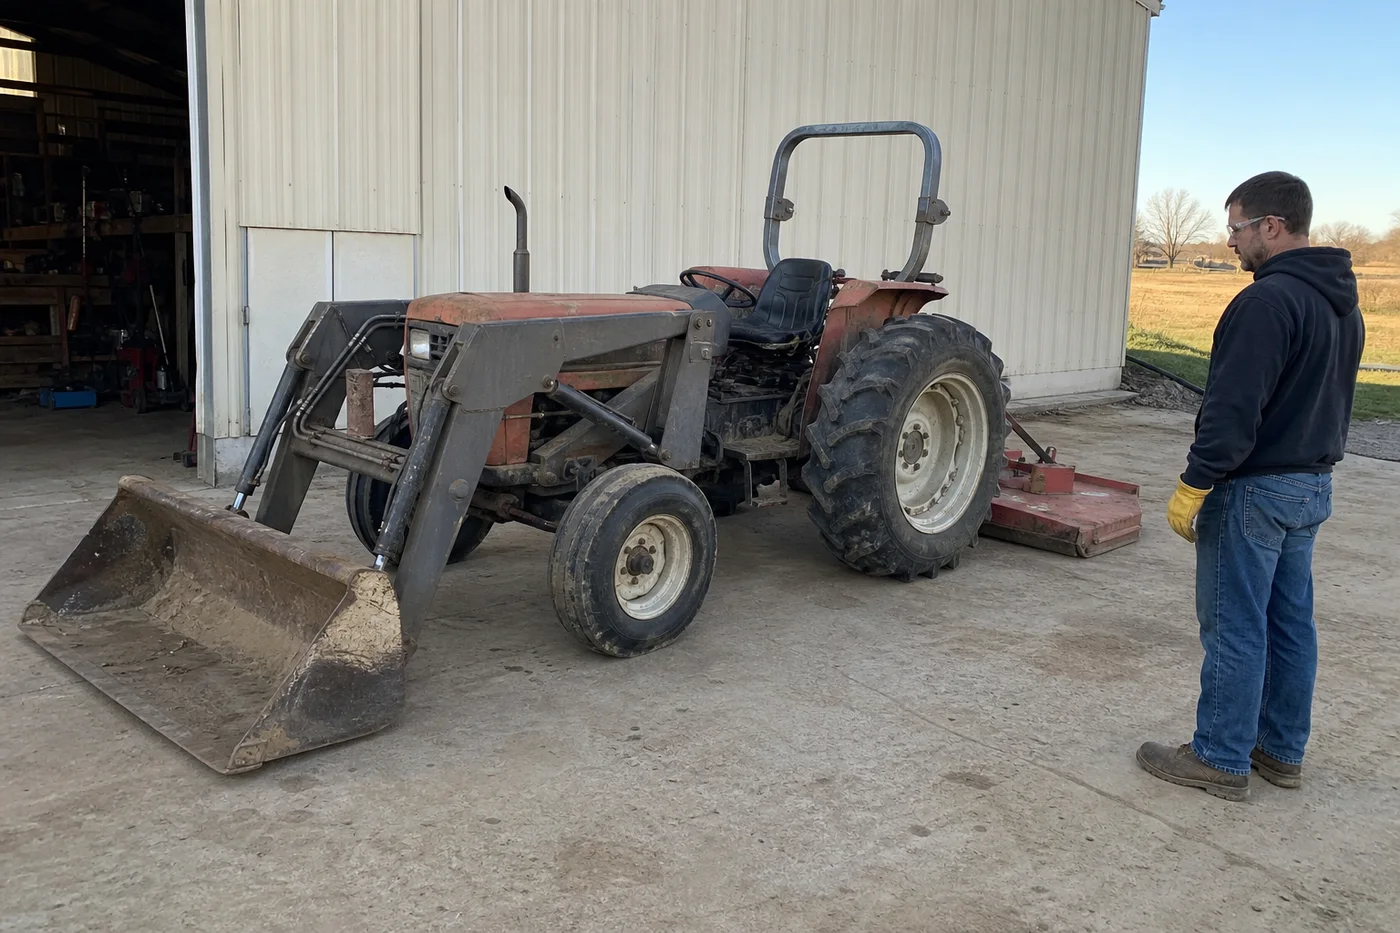
Do not begin with your hand near the leak. Begin by removing stored energy and preventing unexpected movement.
- Park on firm, level ground.
- Lower the loader, three-point hitch (rear linkage), and other attachments completely.
- Apply the parking brake and select park or neutral as the operator's manual specifies.
- Stop the engine and remove the key.
- Allow the engine, exhaust, coolant, and hydraulic components to cool.
- Relieve stored hydraulic pressure by the model-specific procedure.
Never work beneath equipment supported only by hydraulics. Use manufacturer-approved mechanical support2 if work beneath raised equipment is unavoidable.
High-pressure hydraulic fluid can pass through skin through a pinhole that is difficult to see. Do not search with a bare hand, loosen a suspected pressure line, or approach an active spray. Both agricultural high-pressure fluid safety guidance3 and John Deere operator guidance4 call for pressure release, suitable guarding or support, and inspection methods that keep the body away from the jet. If fluid may have entered the skin, seek emergency medical treatment5 immediately; the injury can look minor at first while causing serious damage below the skin.
The same caution applies to a hot cooling system. Never remove a pressurized coolant cap until the engine has cooled and the cooling-system pressure guidance6 can be followed safely.
Which fluid might be escaping?
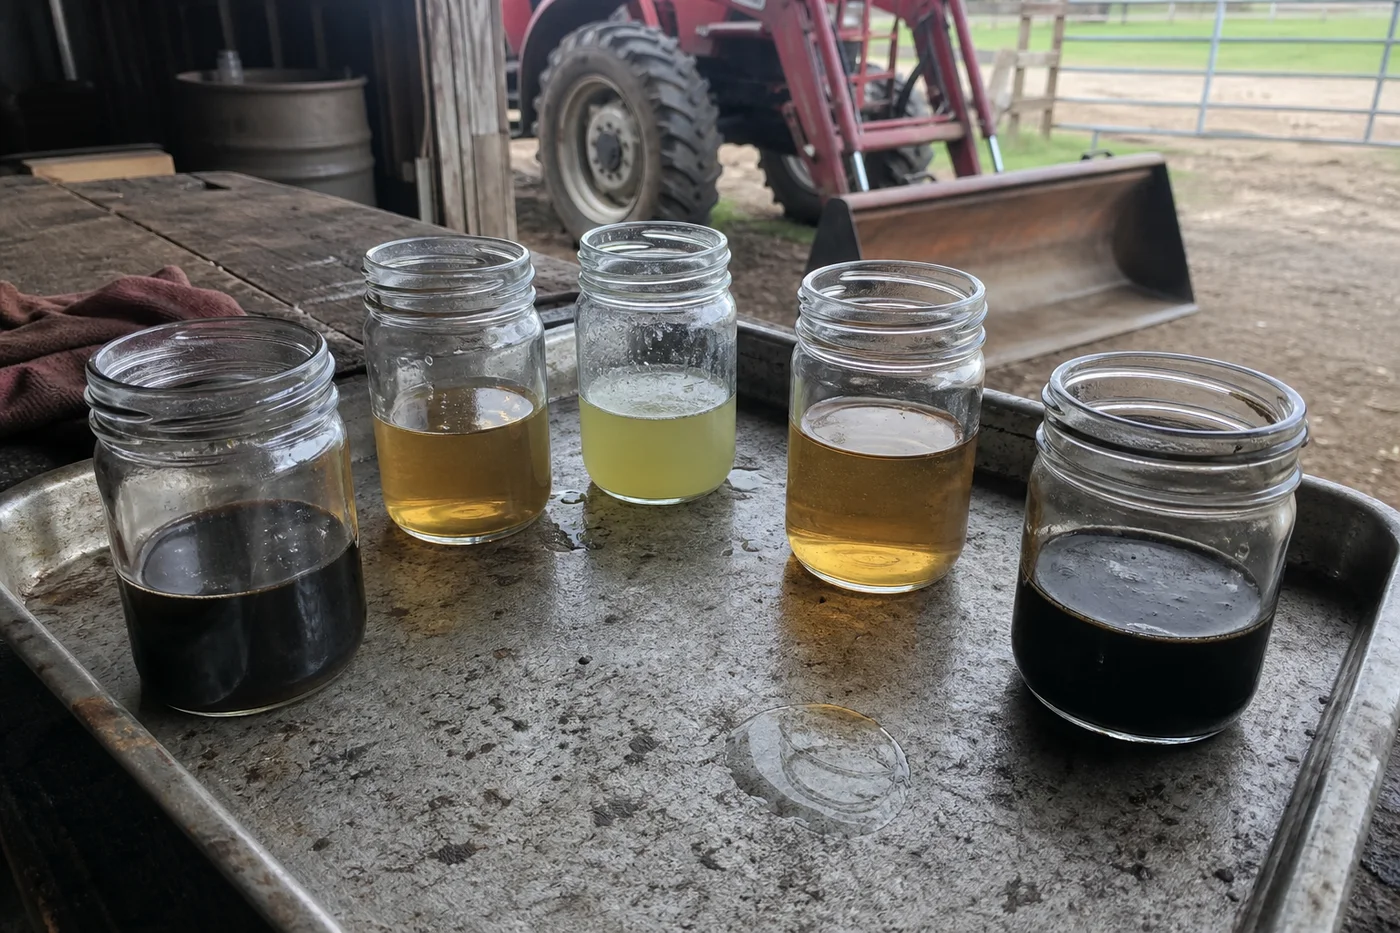
Color alone is unreliable. Product choice, age, contamination, previous service, and local supply can all change how a fluid looks. Use texture, residue, location, and level changes as clues, not proof. Never taste a fluid or deliberately inhale it closely.
Engine oil
Engine oil feels slippery and can range from amber to very dark brown or black. Check the oil pan, drain plug, filter, rocker or valve cover, timing cover, crankshaft seal areas, and engine-to-transmission joint. Park level, stop the engine, wait as directed, and use the dipstick procedure in the manual. A low-oil-pressure warning is a stop condition.
Diesel fuel
Diesel is generally thinner than engine oil and may have a recognizable petroleum odor, although color varies and may be dyed. Inspect the tank, cap, filter or water separator, low-pressure supply and return lines, and fittings. Remove ignition sources and never loosen common-rail or other high-pressure injection lines.
Coolant
Coolant is more watery than oil and may leave a colored or crusty deposit after drying. Check the radiator, reservoir, hoses, clamps, thermostat housing, water pump, and heater lines where fitted. Let the engine cool before opening the system. Overheating, steam, or rapid coolant loss means the tractor should remain stopped.6
Transmission-hydraulic fluid
This fluid is slippery and may be clear, amber, darkened, or dyed. Look around hoses, remote couplers, valves, loader cylinders, steering lines, rear linkage, filters, seals, plugs, and the transmission or rear-axle housing. Lower attachments, shut down, relieve pressure, and use the model-specific level check.
Many tractors use a common transmission-hydraulic oil, while others use separate reservoirs or additional oils for the front axle, final drives, or other gearboxes. Confirm the model's transmission and hydraulic oil applications7 before topping up or ordering parts.
Separate gear or axle oil—and plain water
Gear, front-axle, or final-drive oil may be thicker, but its appearance is not conclusive. Confirm whether that component has its own reservoir. Clear, non-oily water may simply be air-conditioning condensation or wash water; the drain location and stable fluid levels should support that conclusion.
A leak may be visible—or remain inside the hydraulic system
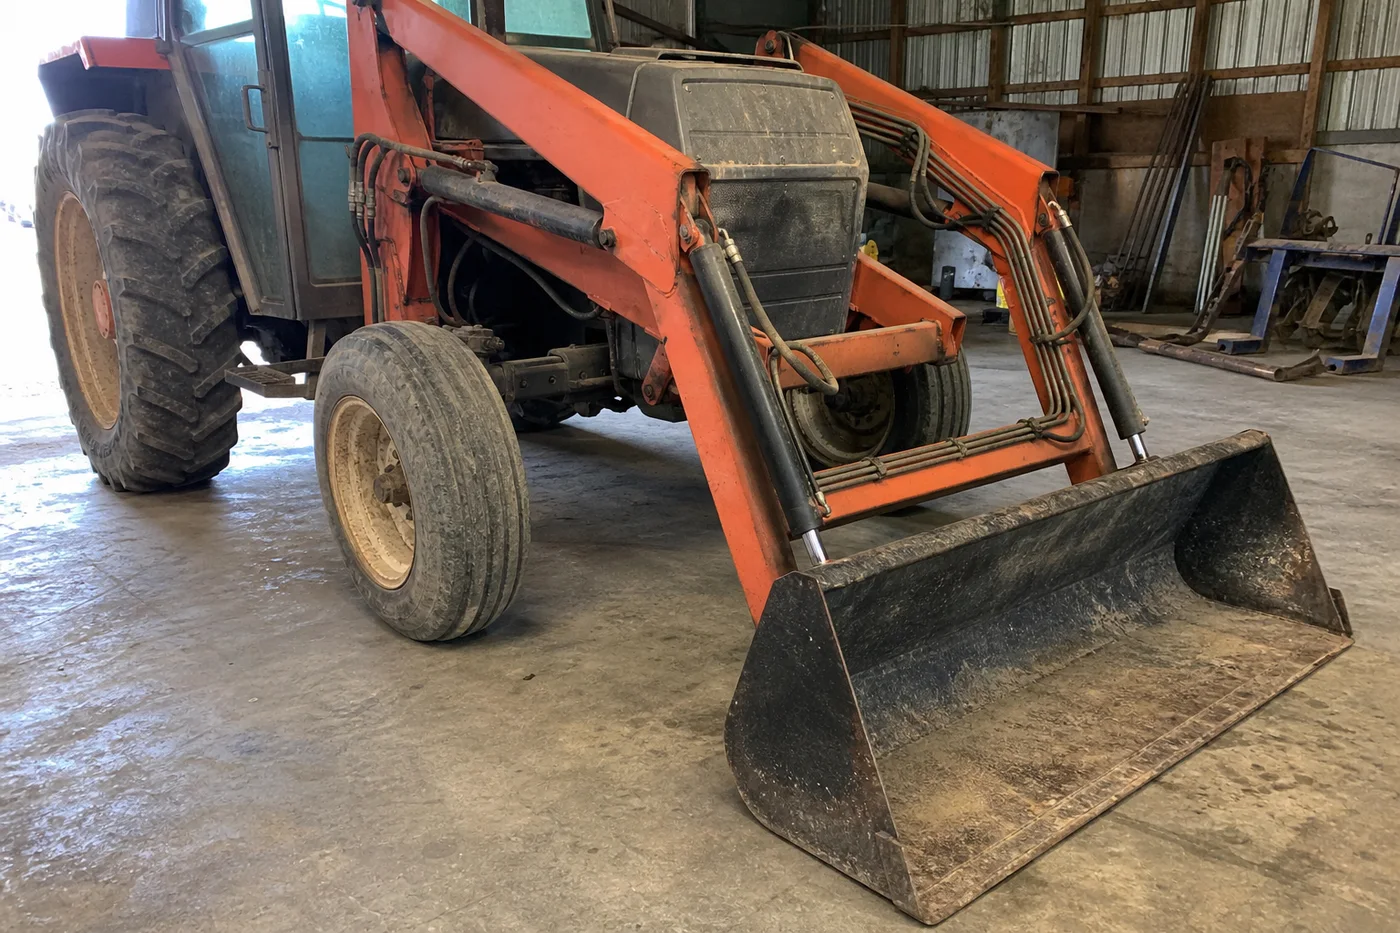
External leaks leave wet components, oily dirt, drops, or spray. Internal hydraulic leakage is different: oil bypasses inside a valve, cylinder, pump, or another component without reaching the ground.
Possible signs include a loader or rear linkage that moves slowly, lacks its usual force, becomes jerky, will not hold position, or performs worse after the oil warms. These symptoms also appear in manufacturer hydraulic troubleshooting information8 and hydraulic pump troubleshooting guidance9.
None of these symptoms is unique to internal leakage. Similar behavior can come from low fluid, cold or incorrect-viscosity oil, air entering the system, a restricted suction screen—the mesh filter protecting the pump inlet—a blocked filter, incorrect adjustment, a relief-valve problem, or an overloaded implement. Manufacturer troubleshooting information commonly treats these as competing checks rather than one automatic diagnosis.89
Some implement settling may also fall within the manufacturer's limit. Do not improvise a pressure, flow, temperature, or cylinder leak-down test. Those controlled tests should follow the service procedure and may require trained personnel.
A tractor leak always leaves a visible puddle.False
External leaks may leave wet components, drops, or spray, but internal hydraulic leakage can instead appear as drift, weak movement, longer cycle times, excess heat, or pump noise without fluid reaching the ground.
The lowest visible drip always identifies the failed tractor component.False
Fluid can travel along hoses, frames, wiring looms, and housings before it drips. Airflow, spray, rotating parts, and travel wind can also move wetness away from the source.
Transmission oil and hydraulic oil are always stored in separate reservoirs on farm tractors.False
Many farm tractors use one combined transmission-hydraulic oil system, while other models use separate reservoirs or additional oils for axles, final drives, and gearboxes.
A practical seven-step inspection process
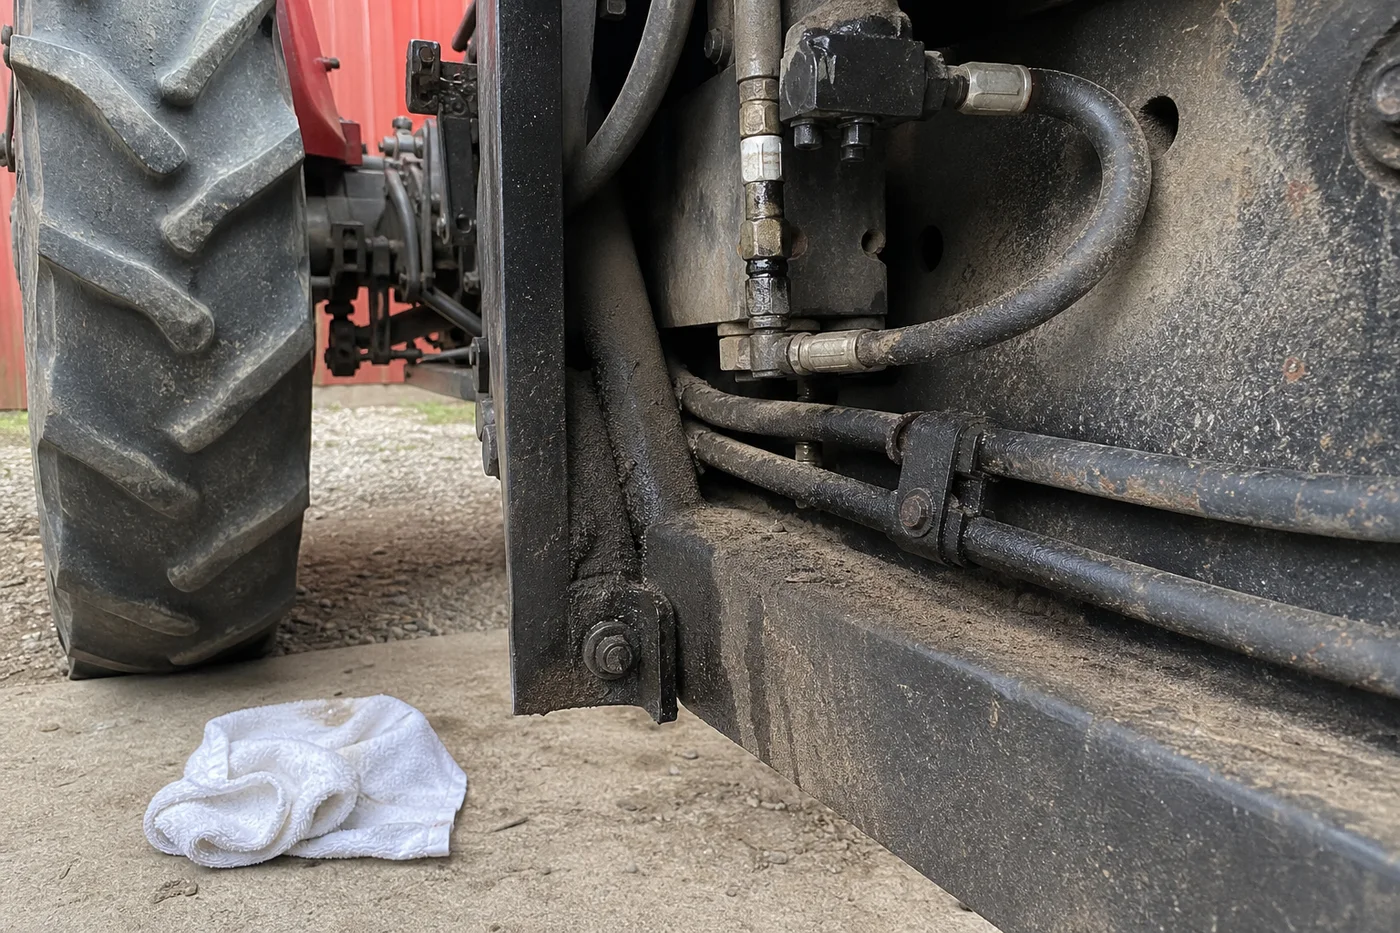
Once the tractor is shut down, cooled, depressurized, and stable, use the same sequence each time:
- Look beneath the parked tractor. Note fresh drops, stains, and their position relative to the engine, transmission, axles, and attachments.
- Follow the fresh wetness toward the likely upstream source. Check hoses, fittings, couplers, filters, plugs, seals, cylinders, housings, cooling components, and low-pressure fuel lines. Consider fan airflow, spray, rotating parts, and travel wind; wetness can move upward or sideways as well as downward.
- Separate old residue from active leakage. If safe, clean the suspected area after shutdown and inspect it later for new wetness.
- Check the relevant level correctly. Tractor position, attachment position, temperature, engine condition, and waiting time vary by model and system.
- Review warnings and function. Record gauges, warning lights, temperature, noise, loader speed, rear-linkage behavior, steering feel, and brake assistance.
- Note when it happens. Parked, cold, warm, under load, while steering, during loader operation, or while using a remote outlet are useful distinctions.
- Photograph the evidence safely. Describe it as a film, seep, drop, stream, spray, or mist and estimate how quickly the level is changing.
If the symptom appears only during operation, keep everyone away from moving parts and suspected pressure leaks. Observation does not require touching the system.34
When should you stop operating the tractor?
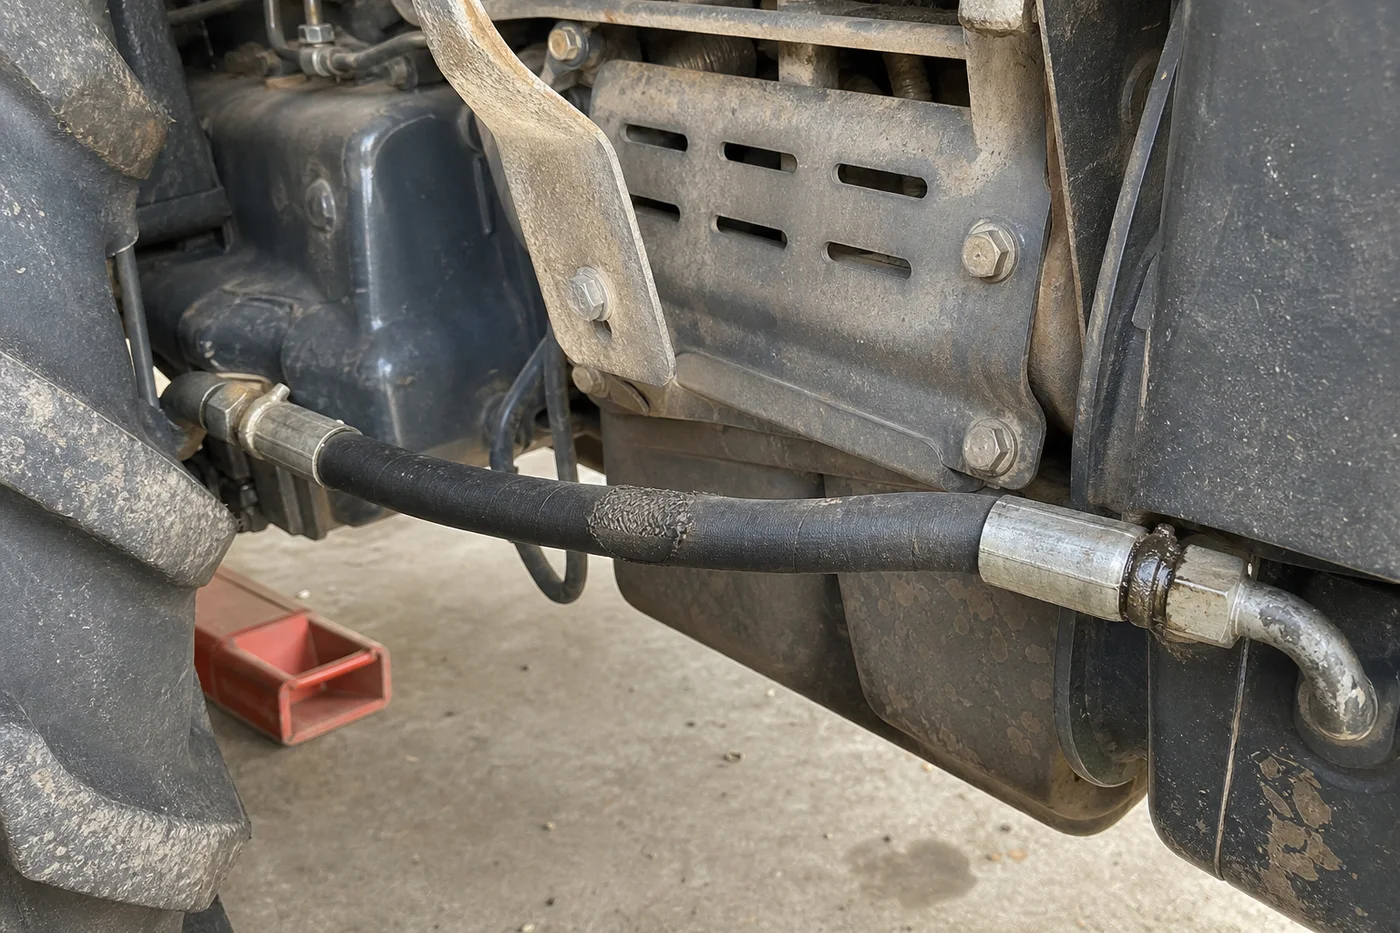
Keep the tractor out of operation and arrange prompt inspection when you find:
- Hydraulic or fuel spray, mist, or another active pressurized leak
- Rapid or continuous fluid loss
- A low-engine-oil-pressure warning
- Overheating, steam, or rapid coolant loss
- Sudden loss of hydraulic lifting or holding ability
- An attachment that may lower unexpectedly
- A significant change in steering or braking assistance
- Fuel or oil reaching the engine, exhaust, brakes, tyres, belts, electrical connections, or another safety-critical area
- A hose that is bulging, badly abraded, damaged, or showing reinforcement
Even a slow seep matters if you must keep topping up the reservoir or the tractor's performance is changing. There is no universal leak amount that is safe for every machine. Pressure hazards, loss of lubrication or cooling, impaired control, fire risk, and unsupported equipment all take priority over finishing the job.362
Stop-work rule: never continue operating to “see if it gets worse” when a leak can affect pressure safety, steering, braking, cooling, lubrication, or attachment support.
What should a used-tractor buyer check?
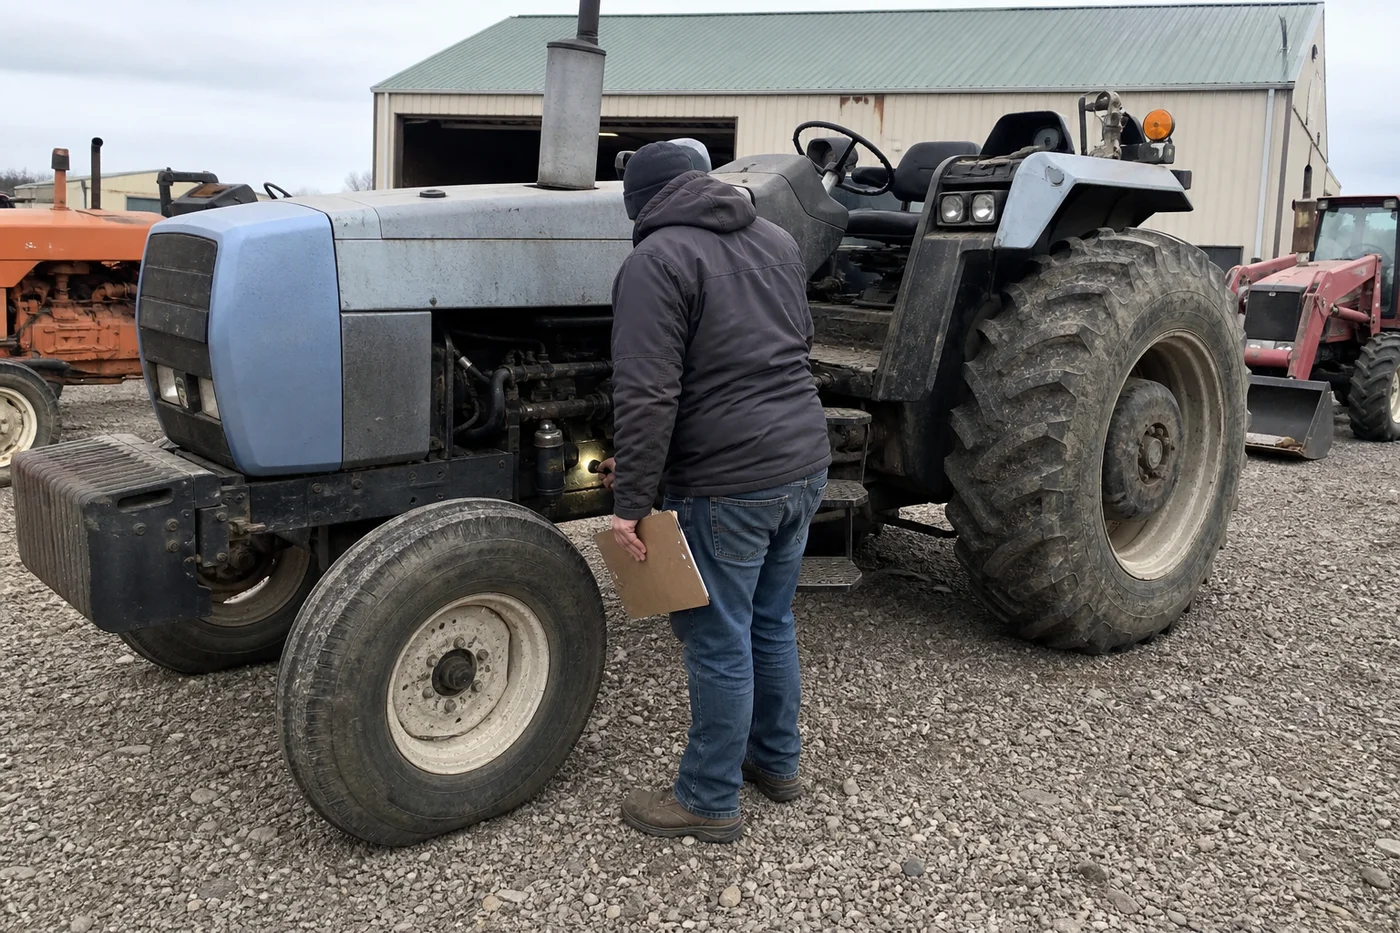
Inspect the tractor before it is moved. Look beneath it, then examine accessible hoses, fittings, couplers, filters, plugs, cylinders, seals, and housings for fresh wetness or oil-soaked dirt. Check each level by the model's procedure and ask why a level is unusually low, high, repeatedly changing, or visibly contaminated.1
If there are no stop-work signs, a competent operator can perform a controlled functional check. Compare loader and rear-linkage speed, smoothness, lifting ability, and drift before and after normal warm-up. Notice whether performance fades as the oil warms or whether wetness appears only during steering, loader use, or operation of a remote hydraulic outlet.8
Ask for maintenance records and details of recent hose, filter, fluid, seal, or implement work. Fresh leakage, unexplained fluid loss, overheating, or declining performance is a reason to request a model-specific test or independent inspection—not proof that the entire tractor is defective.
What information should you give a technician or parts supplier?
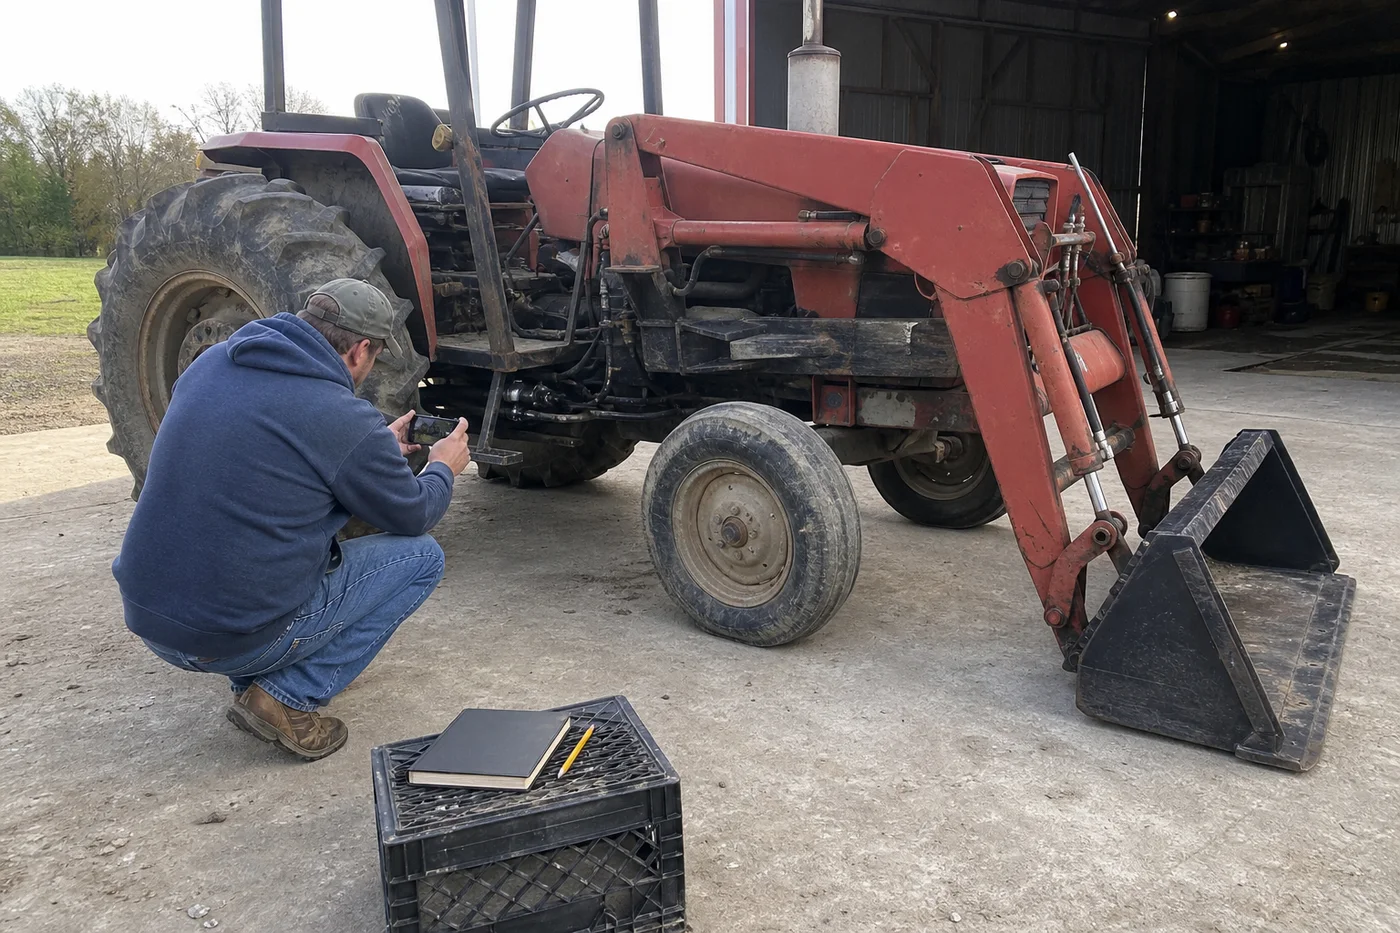
Good notes can shorten the first round of questions and help the supplier find the correct diagram. Record:
- The suspected fluid and how certain you are
- The most likely upstream wet area, not just the puddle location
- Film, seep, drop, stream, spray, or mist
- Approximate loss rate and recent level changes
- Whether it happens parked, cold, warm, under load, or during a particular function
- Warning lights, gauge readings, temperature changes, and unusual noise
- Loader, rear-linkage, steering, or braking changes
- Recent maintenance, impacts, hose replacement, or implement disconnection
- Fluid specification or top-up product, if known
- Make, model, serial number, and operating hours
- Clear photos or video taken from a safe position
These details improve service triage, but they do not confirm the exact hose, seal, gasket, fitting, valve, pump, or cylinder to order. Confirm the source through the model-specific procedure before replacing parts.48
Conclusion
The most useful leak check combines visible evidence with fluid-level trends and changes in machine behavior. Make the tractor safe first, identify the likely fluid cautiously, and decide whether the risk requires immediate shutdown. Then document where and when the symptom appears. That information is far more useful to an owner, buyer, technician, or parts supplier than a guess based on color or puddle location alone.
References
-
Penn State Extension guidance on pre-operational tractor checks, including fluid levels and visible leaks. ↩ ↩ ↩
-
John Deere safety guidance for mechanically supporting raised equipment. ↩ ↩
-
UK Health and Safety Executive guidance on high-pressure fluid injection hazards in agricultural machinery. ↩ ↩ ↩
-
John Deere operator guidance for avoiding high-pressure fluid injuries. ↩ ↩ ↩
-
UK Health and Safety Executive safety alert explaining why suspected hydraulic injection injuries need urgent medical care. ↩
-
John Deere cooling-system guidance for safe pressure-cap and cooling checks. ↩ ↩ ↩
-
John Deere guidance on transmission and hydraulic oil applications. ↩
-
John Deere hydraulic-system troubleshooting guidance covering competing causes of weak or erratic performance. ↩ ↩ ↩ ↩
-
Parker Hannifin troubleshooting guidance for hydraulic vane pumps and motors. ↩ ↩